Demonstration
1. To access MQTT credentials , simply click on the settings inside the project tab. From there, you can copy your MQTT Username & Token which refers to your MQTT Password.
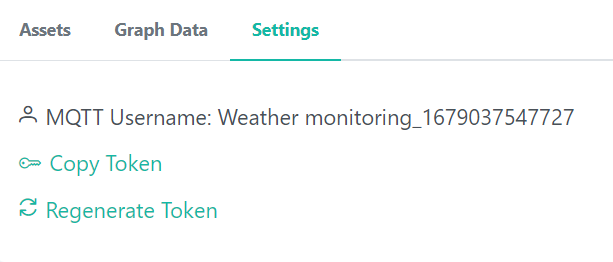
Fig 2.1 Mqtt Username and Password Section
Figure 1: Username and Password access
2. Setting up Raspberry Pi:
a. Start by setting up your Raspberry Pi board, ensuring that it is properly connected to a power source and display.
3. Connections
a. Connect DHT11 sensor pins to Raspberry Pi as per given below table respectively.
Table 1: connection details
| Raspberry Pi | DHT11 |
|---|---|
| GND | GND |
| 3.3 V | VCC |
| PIN 4 | DATA PIN |
4. Go to Thonny python IDE to code your application.
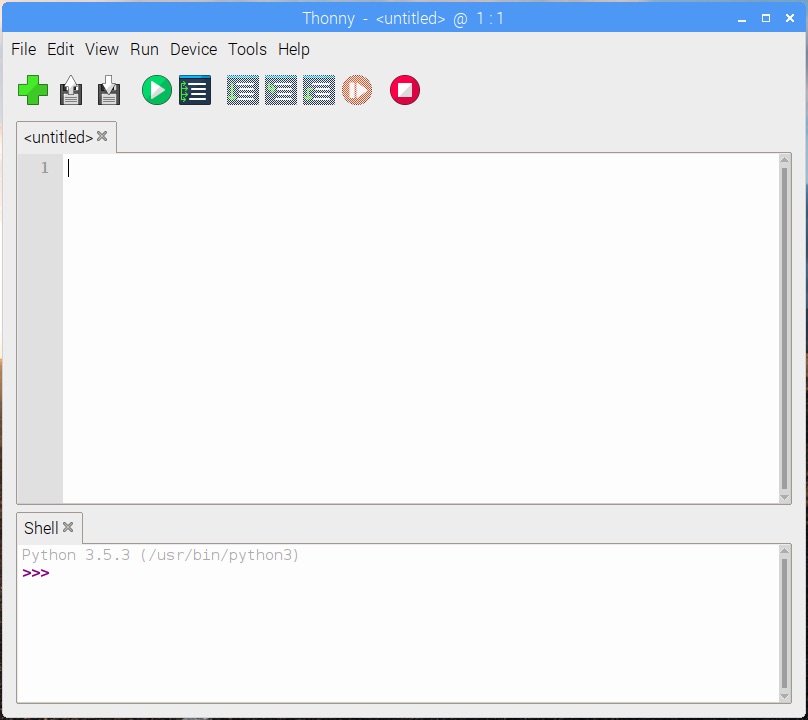
Fig 2.2 Thonny Interface
Figure 2: Thonny python interface
import time

from IOTPlatform_functions import IOTPlatform

# install the Adafruit_DHT library from the instructions given in the documentation
import Adafruit_DHT
sensor = Adafruit_DHT.DHT11

# the below variables are constants. These should be changed before uploading/executing the code
USERNAME = "give_your_credentials"
TOKEN = " give_your_token"
PUBLISH_TOPIC = "give_your_topic"

pin = 4

if __name__ == '__main__':
    Object = IOTPlatform()
    Object.debugMode(condition=True)
    Object.setCredentials(USERNAME, TOKEN)
    Object.setTopic(mqtt_topic=PUBLISH_TOPIC)

    humidity, temperature = Adafruit_DHT.read_retry(sensor, pin)
    Object.debug_statements("temperature: {temperature}".format(temperature))
    Object.debug_statements("humidity: {humidity}".format(humidity))
    while True:
        Object.addParameter("temperature", temperature)
        Object.addParameter("humidity", humidity)
        Object.publish()
        time.sleep(1)
5. To use the Paho MQTT library with Thonny Python IDE on Raspberry Pi, you can follow these steps:
a. Install Paho MQTT library:
i. Open the terminal in Thonny by clicking on the "Tools" menu and selecting "Thonny's Python Shell".
ii. Run the following command to install the Paho MQTT library:
!pip install paho-mqtt
6. Include the necessary code file and library functions. (DHT11 in this case) Install DHT11 library:
Download the library file from the link:
https://github.com/adafruit/Adafruit_Python_DHT/archive/master.zip
Extract the zip library and install it in the same root directory of the downloaded library by executing the following command in the terminal, ! cd Adafruit_Python_DHT-master
! sudo python setup.py install
7. After the above steps, click on the Run button to execute the program.
8. Let the program run for a considerable amount of time so that will be able to view some volume of data on the website. A sample set of readings stored on the website is shown below in graphical format:
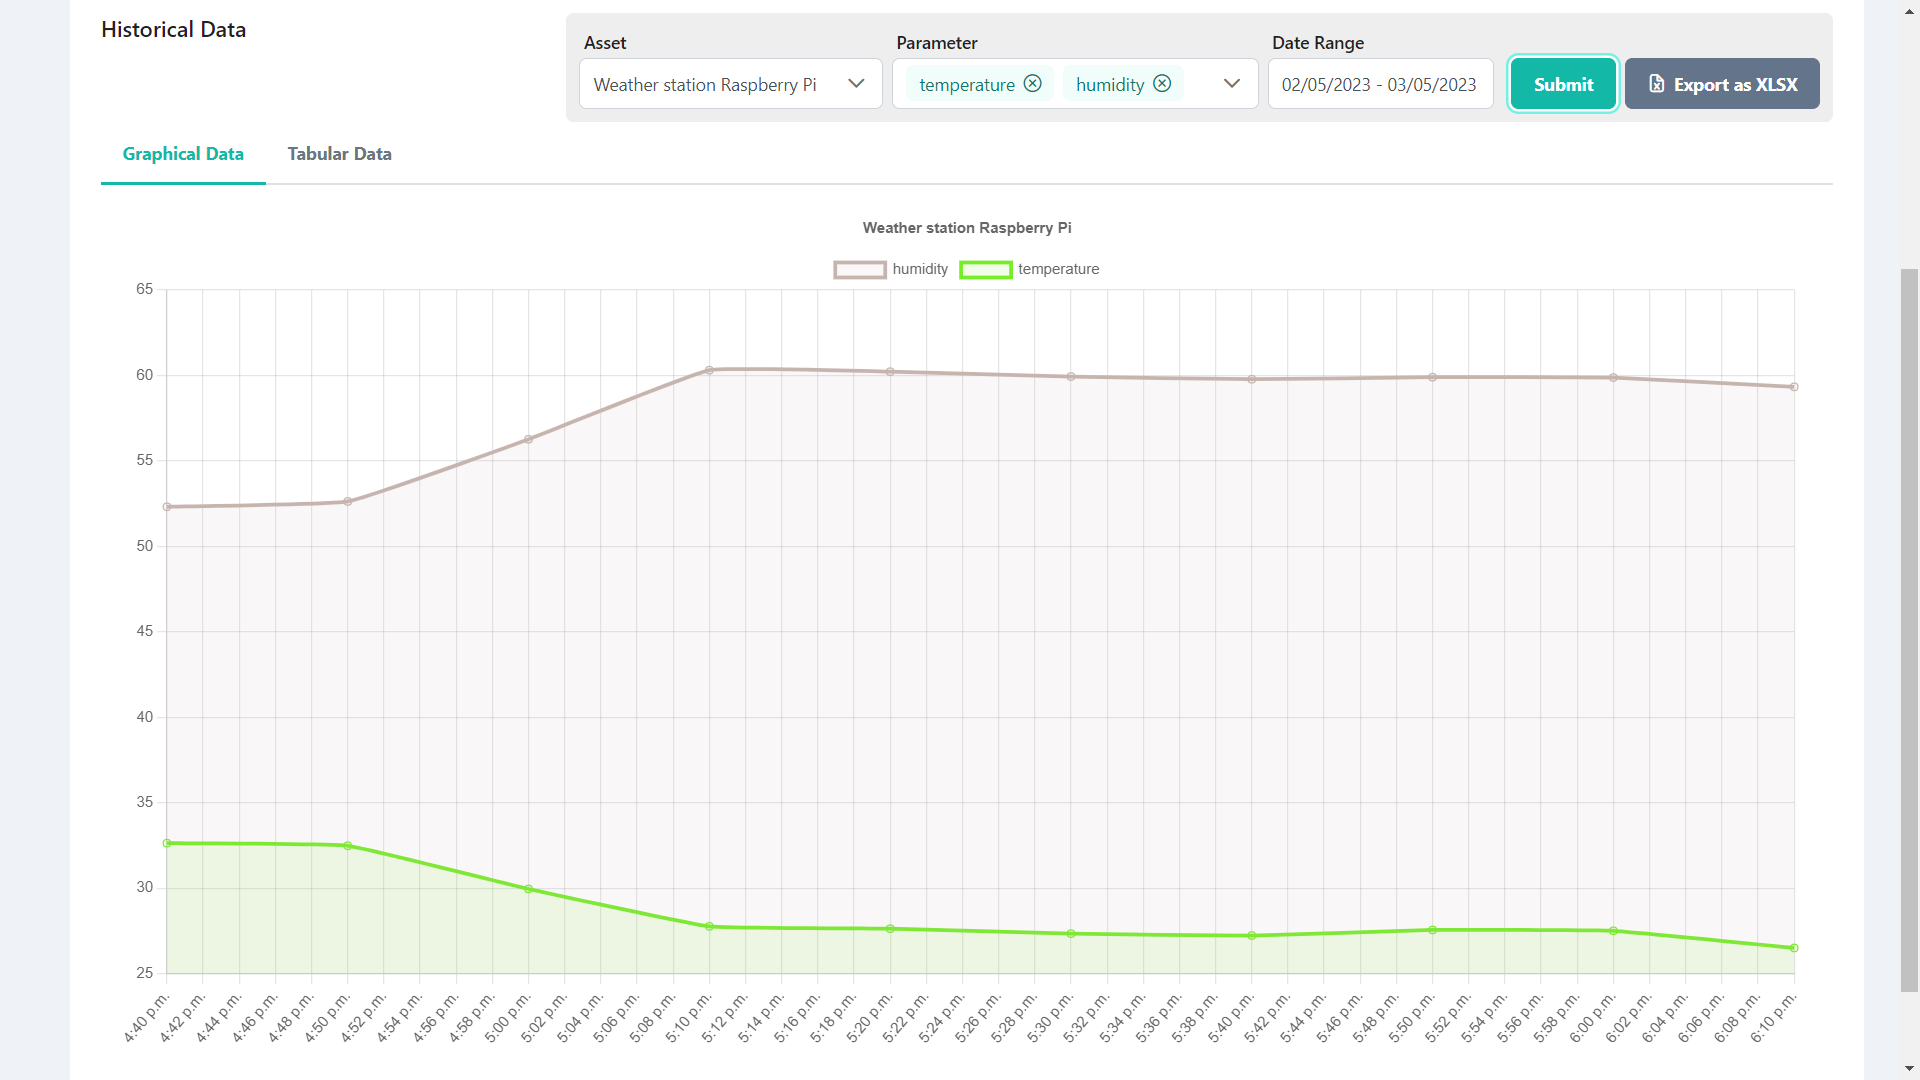
Fig 2.3 Data Visualization Dashboard
Figure 3: Dashboard