IOTIF
What is IOTIF? An electronic trainer kit consisting of three micro-controllers: Raspberry Pi 4B(with SD Card and pre-installed Raspbian OS), Arduino Nano and ESP-01; and a variety of sensors and actuators like Buzzer,LED,RGB LED, Relay, Ultrasonic sensor, Light Dependent Resistor(LDR), Passive Infrared Sensor(PIR sensor), Humidity and Temperature sensor(DHT-11), Servo motor, Stepper motor, Bluetooth module (HC-05), Liquid crystal display(LCD), Joystick and a Membrane Keypad.
IIOT Platform Raspberry Pi Library:
1. Install IIOT Platform library under access the library.
2. Include the library by the following code:
from IOTPlatform_functions import IOTPlatform
the python file IOTPlatform_functions.py should be in the same working directory.
3. Initialize the IOTPlatform object using the following code:
Object = IOTPlatform()
Now to use the inbuilt library function anywhere inside the code, you need to access it by
Object.function_name()
Functions
1. setCredentials(mqtt_username, mqtt_password):
This function allows the user to set the username and password designated for that topic or mqtt URL
Example:
setCredentials('iot_1234','123456')
Return Type: none
The above function .call has an example username and password.Using this function, you can set the designated username and password for your asset inside a project.(The username and password can be seen under the settings tab inside a project).';
2. debugMode(condition):
This function is used to enable or disable all the print statement present inside the code; it accepts only Boolean variables (true/false)
Example:
debugMode(true)
Return Type: none
The above function call passes true as an argument, which will enable all the debug statements (print statements) in the code. If passing false as an argument the debug statements (print statements) will be disabled and only the normal code function as usual.
3. setTopic(mqtt_topic):
This function assigns mqtt topic with the function argument value.
Example:
setTopic('a/IIOT_demo_12345')
Return Type: none
The above function calls a specific topic, this will assign the topic to the local variable inside the library.
4. addParameter(key, value):
This function appends the data to be sent via mqtt in a key,value pair.
Example:
addParameter('temperature', 32.21)
Return Type: none
The above function is used to append data in the key value pair format onto a dictionary variable. This variable will be later used inside the publish function to send the appended data.
5. on_message(client, userdata, msg):
This function is a callback function, and this executes soon after a message is received via MQTT. It processes the information only for the designated mqtt subscribe topic, and not any topic in which the information is received..
Example:
self.mqclient.on_message = self.on_message
Return Type: none
The above statement will be included inside the initMqtt() function. This is considered as a callback function and will get executed soon after it receives any message on the subscribe topic. This function displays the message and the topic on which the message has been received.
6. on_disconnect(client, userdata, rc):
This function is a callback function and executes soon after the connection is terminated with the MQTT broker. This function sets the connected_flag to false, every time it disconnects from MQTT.
Example:
self.mqclient.on_disconnect = self.on_disconnect
Return Type: none
The above statement will be included inside the initMqtt() function. This is considered as a callback function and will be executed soon after the MQTT client is disconnected due to various factors. This function will toggle the connected_flag to false and stop the mqtt loop.
7. on_connect(client, userdata, flags, rc):
This function executes when it is connected to the mqtt server, then this function sets the connected_flag to true and subscribes to the required mqtt topic and stores the timestamp of the last received data onto the variable LastReceiveTime.
Example:
self.mqclient.on_connect = self.on_connect
Return Type: none
The above statement will be included inside the initMqtt()function. This is considered as a callback function and will be executed soon after the MQTT client is connected to the server. This function will toggle the connected_flag to true, and established connection with mqtt server, also starts the mqtt loop function.
8. initMqtt():
This function is used to initialize mqtt, it sets the username and password as per the information given by user. It also initializes callback functions like on_connect, on_message, on_disconnect.
Example:
initMqtt()
Return Type: none
This function has no argument required but has significant importance in establishing a connection with MQTT. This is the function where an object is created for the mqtt client, and also initializes all the required callback function mentioned above. Several other functions of this function are to set username and password given by user and establish a connection with the mqtt server then start the mqtt loop.
9. publish():
This function publishes the set message to the set mqtt server, port, username, and password.
Example:
publish()
Return Type: none
This function has no arguments. This function will first check for connected_flag, only then it starts to send message to the designated mqtt server on a specific topic.The data will be taken from the dictionary variable to which that data has been appended in the addParameter() function, Once the data is sent, it will clear the variable and wait for any other new parameters to be added. Returns none.
10. debug_statements(message):
This function is used to print messages as per users input to the argument.
Example:
debug_statements('Connection established with MQTT Broker')
Return Type: none
The above function call passes an argument of a message to be printed in terminal.
11. getLastPublishTime():
To get last, publish time this function can be used.
Example:
getLastPublishTime()
Return Type: last published time.
This function doesn't need any input arguments thus, this function doesn’t have any input arguments.
12. getLastDisconnectTime():
To get the last disconnect time of the device from the MQTT broker this function is used.
Example:
getLastDisconnectTime()
Return Type: last disconnected time.
This function doesn't require any input arguments thus, this function doesn’t have any input arguments, with this function we can publish last publish time.
13. getTopic():
To get the topic of the project use this command.
Example:
getTopic()
Return Type: mqtt topic.
The function returns the topic of the project which is a string. There is no need for any input arguments.
14. getMacId():
This fucntion returns Media Access Control (MAC Address) of the device.
Example:
getMacId()
Return Type: MacId.
The command returns with string of MAC ID of the project. There is no need for any input arguments thus, this function doesn’t have any input arguments.
15. getCredentials():
This function returns the username and password.
Example:
getCredentials()
Return Type: username and password.
There is no need for any input arguments. The function returns the credentials of the project in string format.
16. getLastReceiveTime():
To get the last received time of device from the MQTT broker this function is used.
Example:
getLastReceiveTime()
Return Type: last received time.
The function returns last received time and there no need of any input arguments.
17. getToken():
This function returns token/password.
Example:
getToken()
Return Type: token (password).
This function doesn't require any input arguments. The command returns the password for the mqtt broker in string format.
18. getConfigs():
This function returns configuration data of username, password, and topic.
Example:
getConfigs()
Return Type: username, password, topic(Json format).
The function returns in Json format. This function doesn't require any input arguments thus, this function doesn’t have any input arguments.
19. getProjectName():
This function returns the project name.
Example:
getProjectName()
Return Type: project name.
This function doesn't require any input arguments. The command returns the project name in string.
20. getProjectId():
This function returns the project ID.
Example:
getProjectId()
The function returns project ID in string. This function doesn't require any input arguments.
Access the library
This Zip file contains all the necessary functions and Example codes to get started with the IIOT Platform. Inside, you’ll find a requirement.txt file containing all the necessary libraries you need to install. To make things easier, we also included two example codes - one on using all functions and appending random data, and another on interfacing with a DHT sensor.
Demonstration
1. To access MQTT credentials , simply click on the settings inside the project tab. From there, you can copy your MQTT Username & Token which refers to your MQTT Password.
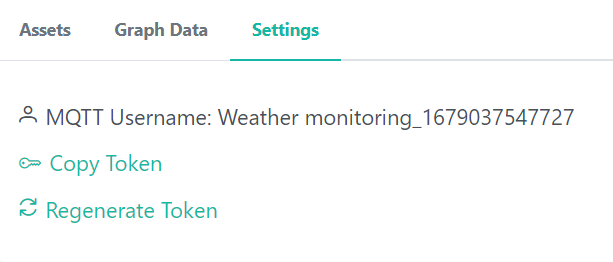
Fig 4.1 Mqtt Username and Password Section
Figure 1: Username and Password access
2. Setting up Raspberry Pi:
a. Start by setting up your Raspberry Pi board, ensuring that it is properly connected to a power source and display.
3. Connections
a. Connect DHT11 sensor pins to Raspberry Pi as per given below table respectively. Table 1: connection details
| Raspberry Pi | DHT11 |
|---|---|
| GND | GND |
| 3.3 V | VCC |
| PIN 4 | DATA PIN |
4. Go to Thonny python IDE to code your application.
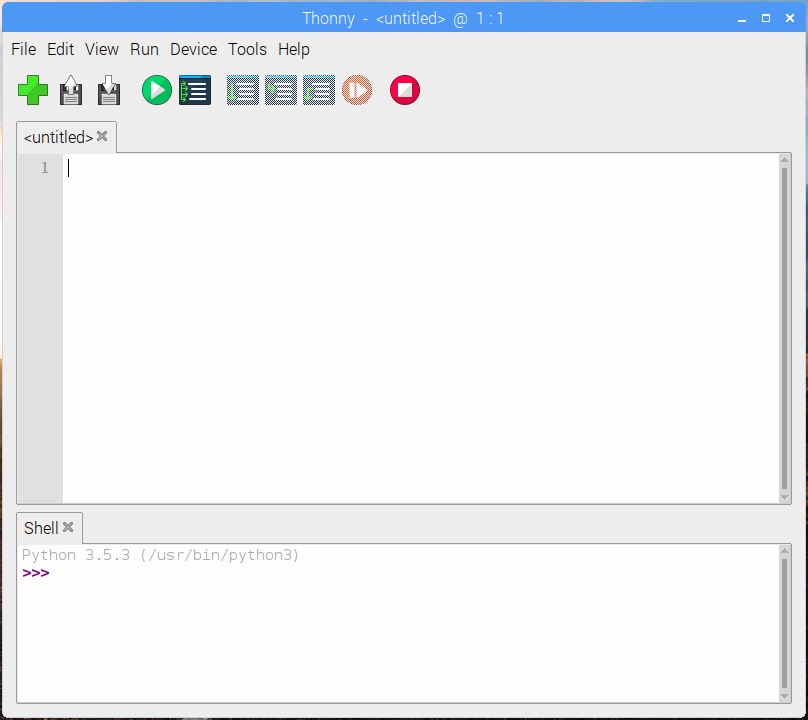
Fig 4.2 Thonny Interface
Figure 2: Thonny python interface
import time

from IOTPlatform_functions import IOTPlatform

# install the Adafruit_DHT library from the instructions given in the documentation
import Adafruit_DHT
sensor = Adafruit_DHT.DHT11

# the below variables are constants. These should be changed before uploading/executing the code
USERNAME = "give_your_credentials"
TOKEN = " give_your_token"
PUBLISH_TOPIC = "give_your_topic"

pin = 4

if __name__ == '__main__':
    Object = IOTPlatform()
    Object.debugMode(condition=True)
    Object.setCredentials(USERNAME, TOKEN)
    Object.setTopic(mqtt_topic=PUBLISH_TOPIC)

    humidity, temperature = Adafruit_DHT.read_retry(sensor, pin)
    Object.debug_statements("temperature: {temperature}".format(temperature))
    Object.debug_statements("humidity: {humidity}".format(humidity))
    while True:
        Object.addParameter("temperature", temperature)
        Object.addParameter("humidity", humidity)
        Object.publish()
        time.sleep(1)
5. To use the Paho MQTT library with Thonny Python IDE on Raspberry Pi, you can follow these steps:
a. Install Paho MQTT library:
i. Open the terminal in Thonny by clicking on the "Tools" menu and selecting "Thonny's Python Shell".
ii. Run the following command to install the Paho MQTT library:
!pip install paho-mqtt
6. Include the necessary code file and library functions. (DHT11 in this case) Install DHT11 library:
Download the library file from the link:
https://github.com/adafruit/Adafruit_Python_DHT/archive/master.zip
Extract the zip library and install it in the same root directory of the downloaded library by executing the following command in the terminal,
! cd Adafruit_Python_DHT-master
! sudo python setup.py install
7. After the above steps, click on the Run button to execute the program.
8. Let the program run for a considerable amount of time so that will be able to view some volume of data on the website. A sample set of readings stored on the website is shown below in graphical format:
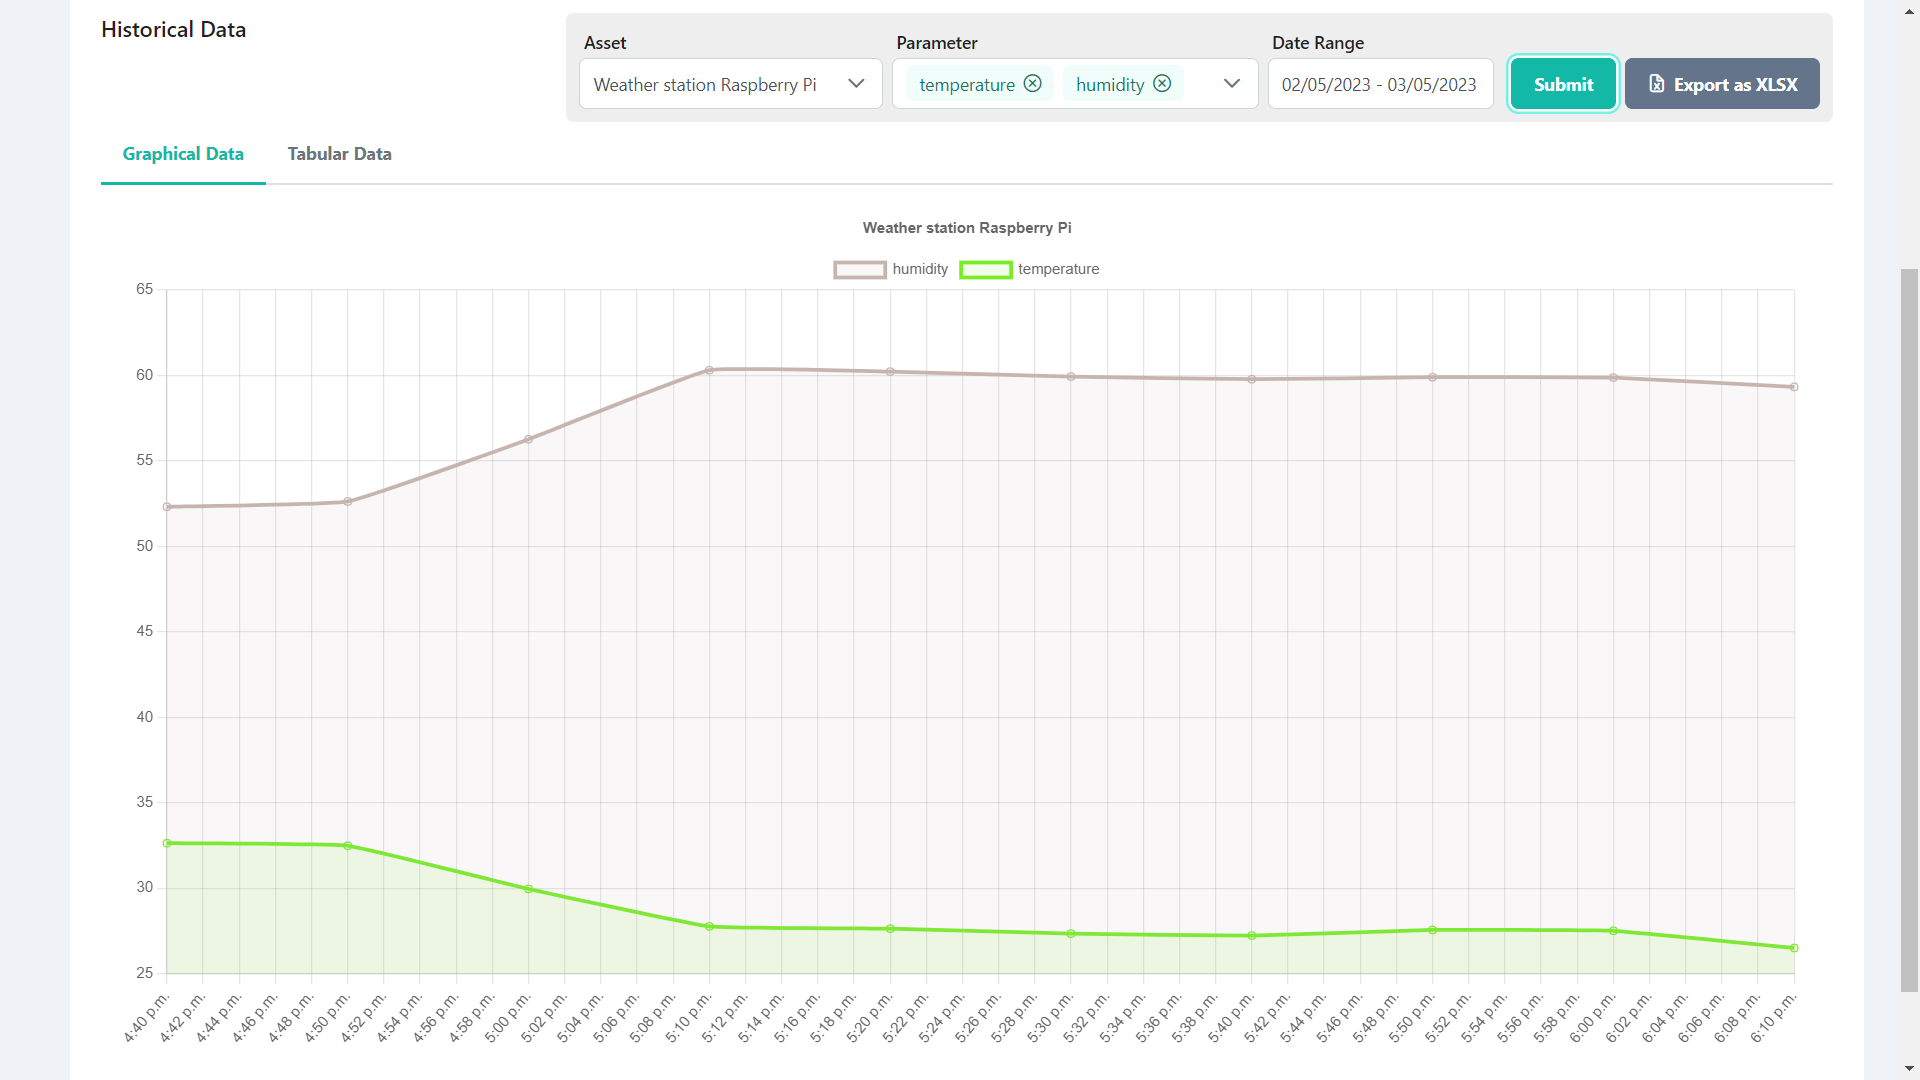
Fig 4.3 Data Visualization Dashboard